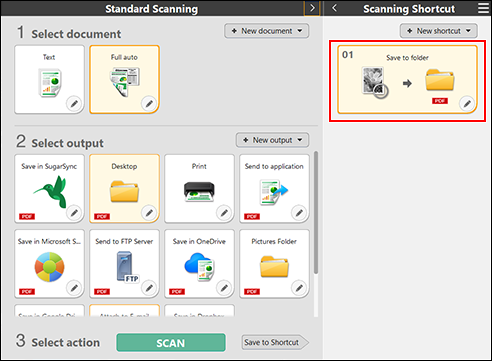
Scanning Shortcut
You can scan a document easily just by clicking the Scanning Shortcut panel.
-
Launch CaptureOnTouch.
-
Select a scanner.
-
Place the document in the scanner.
For details, refer to the manuals for your scanner.
-
Click the Scanning Shortcut panel.
The document is scanned. While scanning is in progress, the number of pages scanned is displayed in addition to the scanner settings.
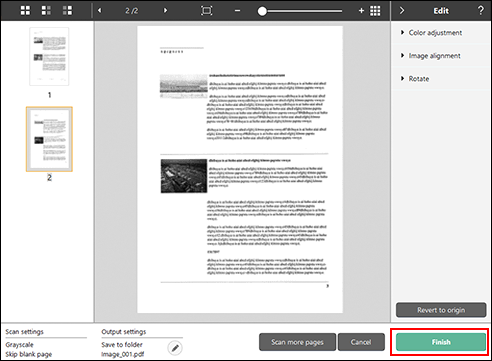
When scanning is complete, the preview screen will be displayed.
If you click
 , the [Standard Scanning] area will be displayed. -> "Standard Scanning"
To scan with preferred settings
-
Check the scanned image on the preview screen.
To scan continuously
Place the next document, and then click the [Scan more pages] button. The scanning of the document will start.
The [Scan more pages] button is not displayed if you disable [Enable additional scan] in the Scanning Shortcut panel settings . -> Setting options
To edit a scanned image
-> Editing
If [Edit after scanning] is disabled in the Scanning Shortcut panel settings, the edit window will not be displayed. -> Setting options
To change the output
Click
 . -> Setting the output
 -
Click the [Finish] button.
Click the [Cancel] button to discard the scanned image and return to the main window.
When the output has finished, a popup window will be displayed. If saving the scanned image, a link to open the save destination folder will be displayed.
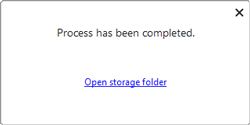
If you click [Open storage folder], the folder in which the saved scanned images were saved opens. Depending on the output settings, the [Open storage folder] button may not be displayed.
This completes the shortcut scan.